
To prepare for this event, I decided some buntings were in order!
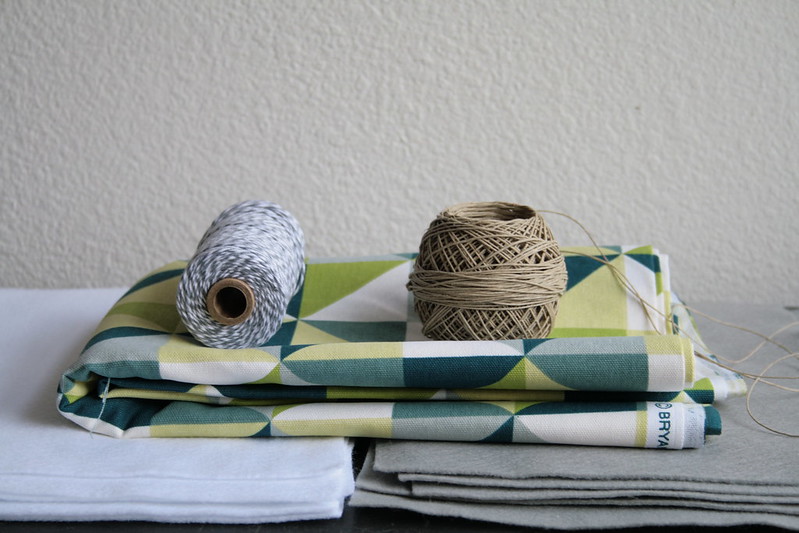
The whole bunting trend has been around for quite some time, but I am still digging it! I think they are cute and fun (and easy enough to whip one up). So here are the materials I bought (or had on hand) that I wanted to use for the buntings:
5 squares of white felt
5 squares of gray felt
2 yards of geometric fabric (heavy weight, almost like an outdoor fabric)
Baker's twine
Hemp twine
I let the materials inspire me and got busy!

I started with the white felt. I first cut the felt squares into four equal strips. Then I cut those strips into squares. And circles out of each of the squares. (Tip: get good scissors and you can cut two pieces at a time) After I had cut a whole slew of circles, I just ran them through the sewing machine. Literally, that was it.

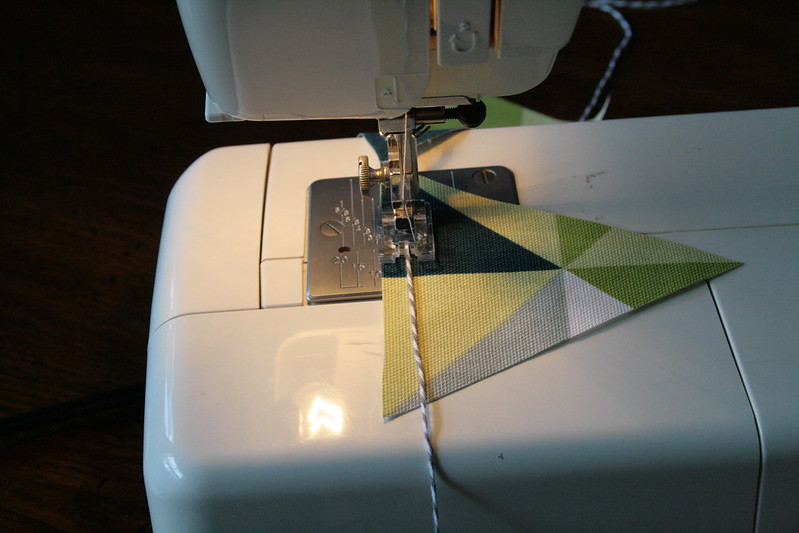
Here is me sewing a straight line through the circles. The thread from one circle connects to the next, and the bunting grows and grows! I did not have any special technique to do this. I just stuck one circle behind the previous circle under the sewing foot and let the feed dogs catch the material and push it through! Again, that is it! So simple!


I did put "on a budget" in the title of this post... Let's talk money. Each square of felt costs 35 cents and I bought 10. So that was $3.50. Plus thread. Which I already had. And 10 sheets of felt made 3 buntings. $3.50 for 3 buntings; not bad at all.
On to the fabric buntings!
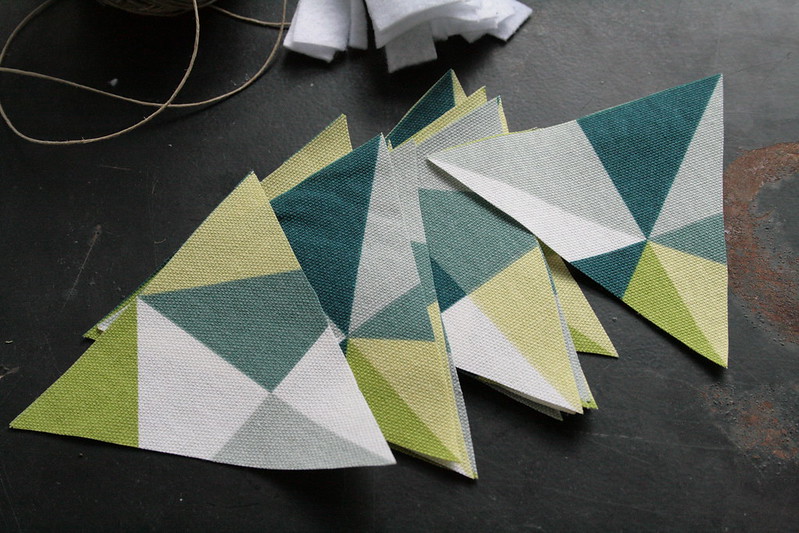
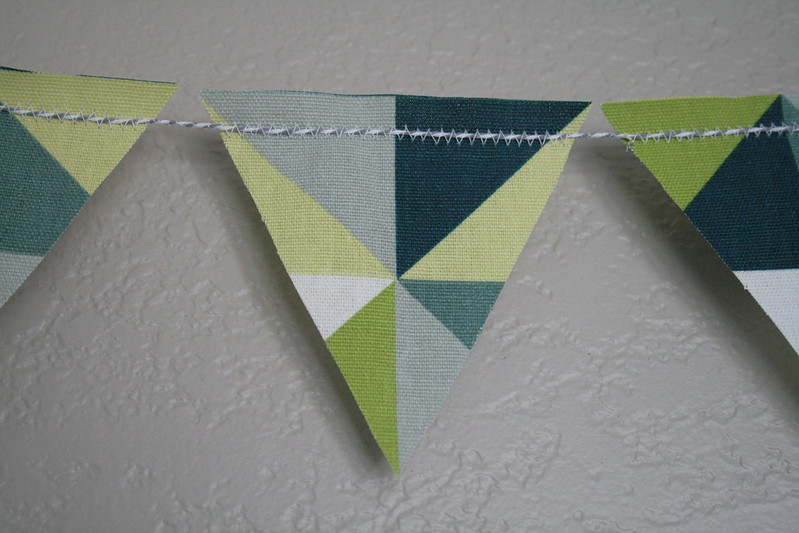
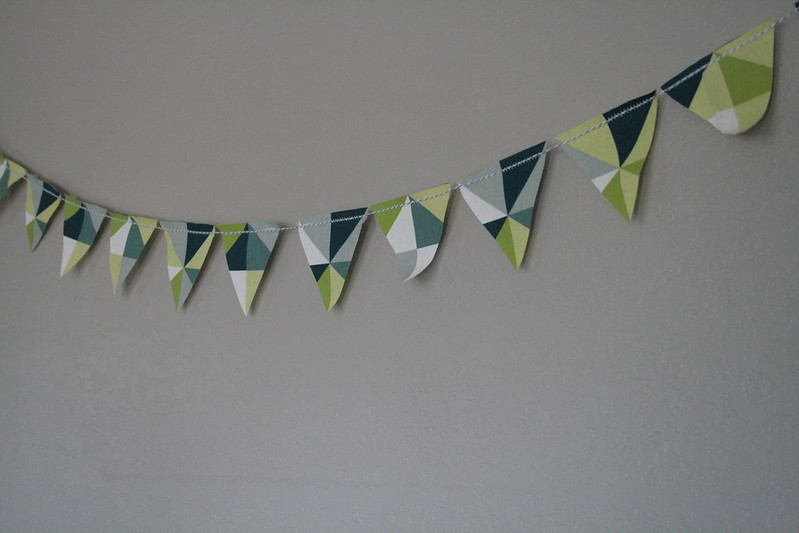
Let me just end with saying, I am not a perfectionist. I did not worry about if each triangle or circle was exactly the same. I did not worry about perfectly straight seams and perfect spacing. I was going more for a completion of a project! And you know what, imperfectly finished looks just as cute!
I heart bunting!! You continue to amaze me. And I got to take them home! Lucky ducky.
ReplyDeleteAlly you are so creative!
ReplyDelete